

I'm going to start this post off by taking my position as Captain Obvious and say one thing:
The first half of this tutorial contains HORRIBLE lighting.
I mean, it's awful. It's yellow/orange and created some crappy photos. I was so bummed........buuuuuuut I was more lazy than I was bummed so I didn't redo the tutorial just so I could take better photos. Whatevs, I'm over it hahaha :D
I mean, it's awful. It's yellow/orange and created some crappy photos. I was so bummed........buuuuuuut I was more lazy than I was bummed so I didn't redo the tutorial just so I could take better photos. Whatevs, I'm over it hahaha :D
Anyway! Last week, during finals, I had a presentation for my Hospitality Layout and Design class in which I had to create the theme and layout of a fictitious restaurant. If I may, I'd like to pat myself on the back because it....was...AWESOME! We got an "A!"........and when I say "we" I really mean "I" got an "A" cause, let's be honest here, I literally did 90% of the work. We've all been part of group projects where that happens, right? Ugh, they've always been the bane of my scholastic existence and I know there isn't an "I" in team but there is one in "FAIL" and that's just wasn't an option for me. Can I get an amen?
Back to my point. The theme of the restaurant was Japanese-Mexican fusion and part of our color inspiration came from Japanese floating orbs like these.

I was trying to figure out how to make something tactical that I could bring into class that would allow everyone to see exactly what I was talking about and then, literally ONE day before the assignment was due I stumble upon this DIY tutorial. It's like Kim at Sand and Sisal read my mind and created that post just for me! Ugh! I could not wait to try it out. No, seriously. It was due the next day so I had to chop, chop!
My process was a little different from her's in that hers doesn't look like crap and mine....well, let's just say it looks uhMAYzing when it's really dark and you squint your eyes and maybe shake your head back and forth really fast. You'll see what I mean later...
Difficulty level: Easy
Here's what you'll need
- Clear bulbs (either plastic or glass) I got mine on sale at Michael's but I forgot how much I paid. My bad.
- Fishing net (if you're planning on doing the floating orb look. Skip this if you just want the color/treatment)
- Food coloring in green, blue, and yellow.
- Scissors
- White glue
- Measuring cup
- Hair dryer
- Stirring tool
- About 5-20 minutes per bulb- depending on your speed
So, like I said at the start of this post, prepare yourself for some pretty awful lighting. It bums be out that my iPhone takes better quality pictures than my regular camera but whatevs. I'm over it.
Here's that I started out with.

STEP ONE
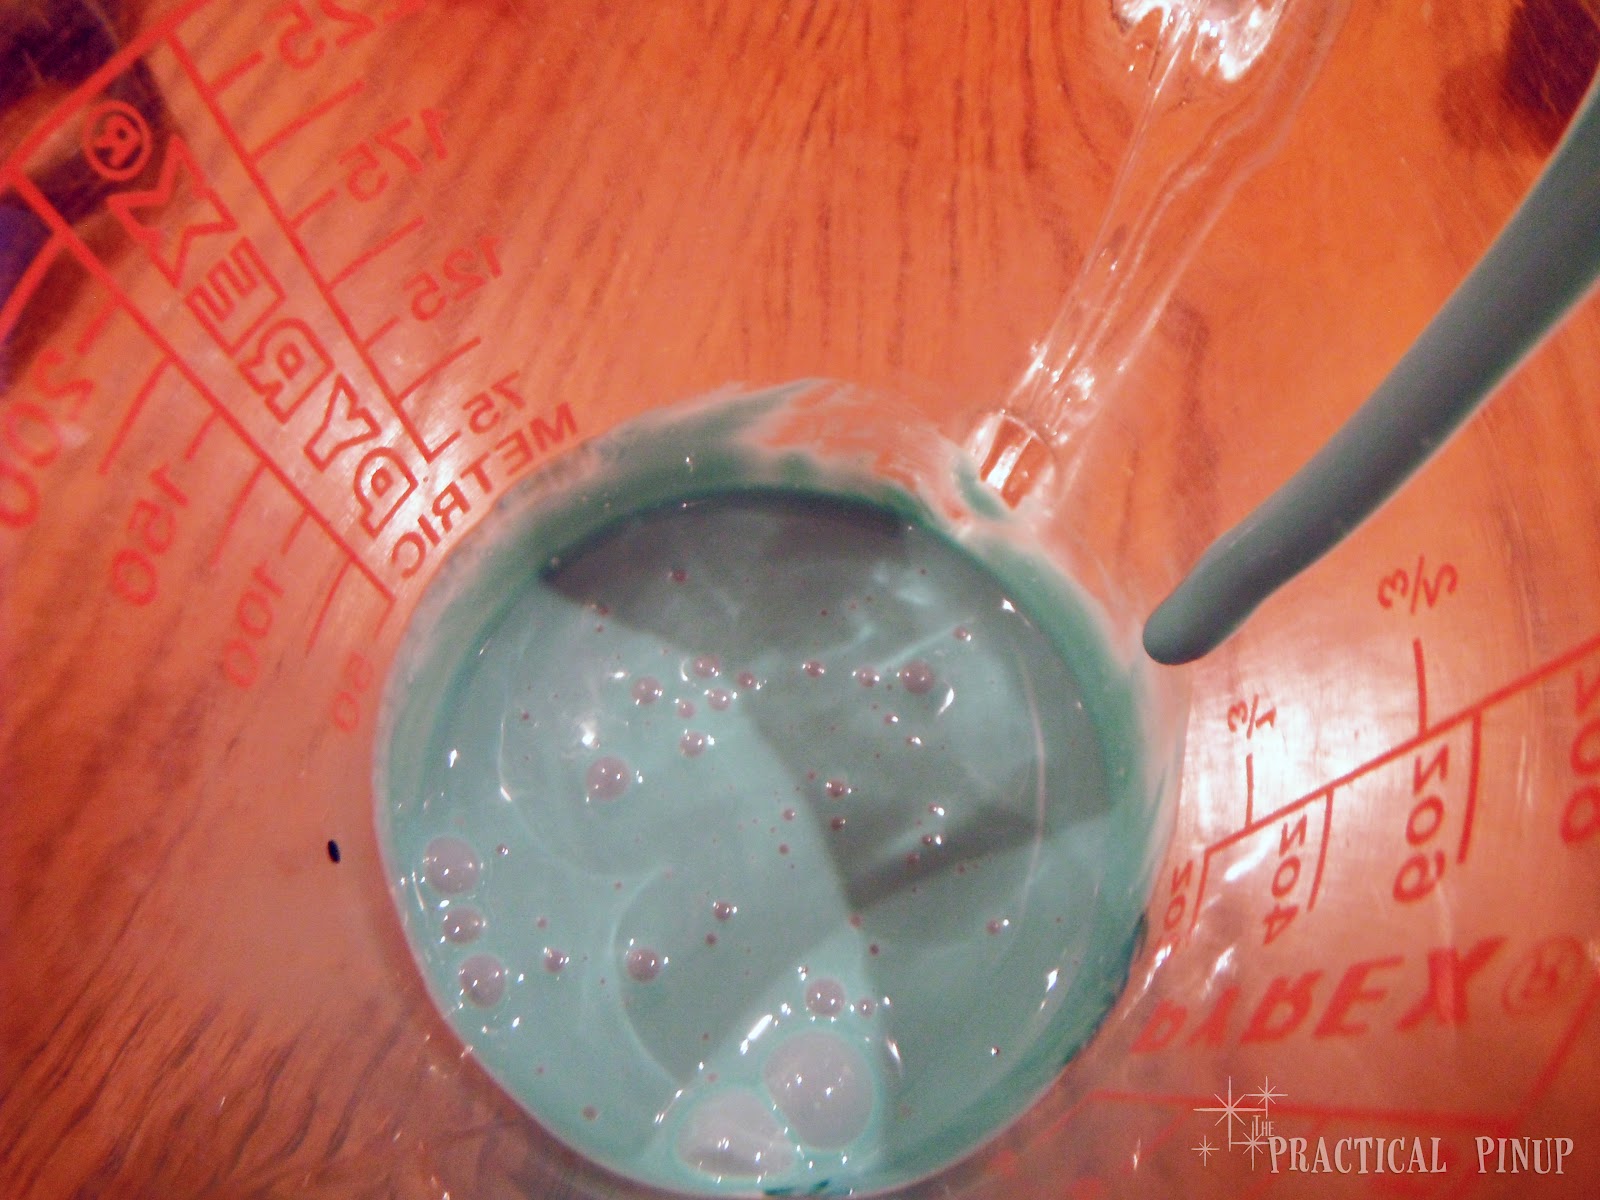
Measure out a crap-load (that's metric, not imperial) more glue than this and and add a couple drops of food coloring til you get the color you want. By starting with a bunch of glue you can just add to it rather than starting from a whole new batch after finishing each orb.
To get the color I wanted I used trial and error and just added a couple drops at a time then mixed. I repeated the process until I achieved the desired shade or until I got lazy and decided it was good enough. Don't judge me.

STEP TWO
Pour your tinted glue into the orb. I didn't have to use a funnel because 1) my measuring cup has a a little pouring thing and 2) I'll be damned if I had to wash another piece of equipment.
STEP THREE
Once it's in, just swirl it around a little (bahahaha, that's what she said) until the inside of your orb is coated in glue. Please note that it's glue so your ability to swirl it around like your aerating a fine glass of 1907 Heidsieck will be somewhat limited by the fact that it's glue so, be patient.

STEP FOUR
Once it's coated pour the excess back into the original container. Add more glue and food coloring but this time, get all cray cray and mix in a few drops of yellow or green, or stick with the blue. Whatevs, just do whatever feels right :)

STEP FIVE
Once completely coated on the inside, place them hole side down in another container to drain out ALL of the excess. I chose mugs because we have a plethora of them and cause I'm cool like dat.
This is what they looked like wet

After one day I realized that they weren't drying because they weren't getting enough air so I got impatient (hmm...imagine that) and took it upon myself to help expedite the process.
It was all going rather swimmingly and I got all cocky like Lucy in the chocolate factory episode where she watches the dame making the chocolate and gets over confident and by the end of it she's having to eat all the chocolate on the conveyor belt.

Well friends, this is my metaphorical mouth full of chocolate.

Who would have known that plastic melts when exposed to prolonged periods of direct high heat?

::sigh::
Yup, that's me. ALL kinds of special.
Anyway, here's a little before and after for you. I know they're not labeled but can you guess which one is which?

I thought I would try and use them as Christmas ornaments like Kim did but quickly realized that they had too many drips so that wasn't going to fly. Even shoving a peacock feather and some peacock down in them didn't help.

So, I did the next best thing and grabbed a pretty bowl and displayed them in a way that hid their flaws. Isn't that what life is about though? Working with what cha' got?

Don't you think these could look really neat for Easter if they were tinted pink or purple?
You could even do it with clear, plastic Easter eggs like these


Let me know if you do that. I'd LOVE to see it!

So there you have it, folks, Japanese floating orbs a la Americana :)
Til next time,
.V.


